This post may contain affiliate links. Please read our disclosure policy.
Poppy seed rolls are a delicious treat! You can make tasty poppy seed rolls at home, and it won’t take you long at all.
Get started with your poppy seed rolls and within a few hours you’ll be sitting down to freshly baked treats.
Poppy Seed Rolls
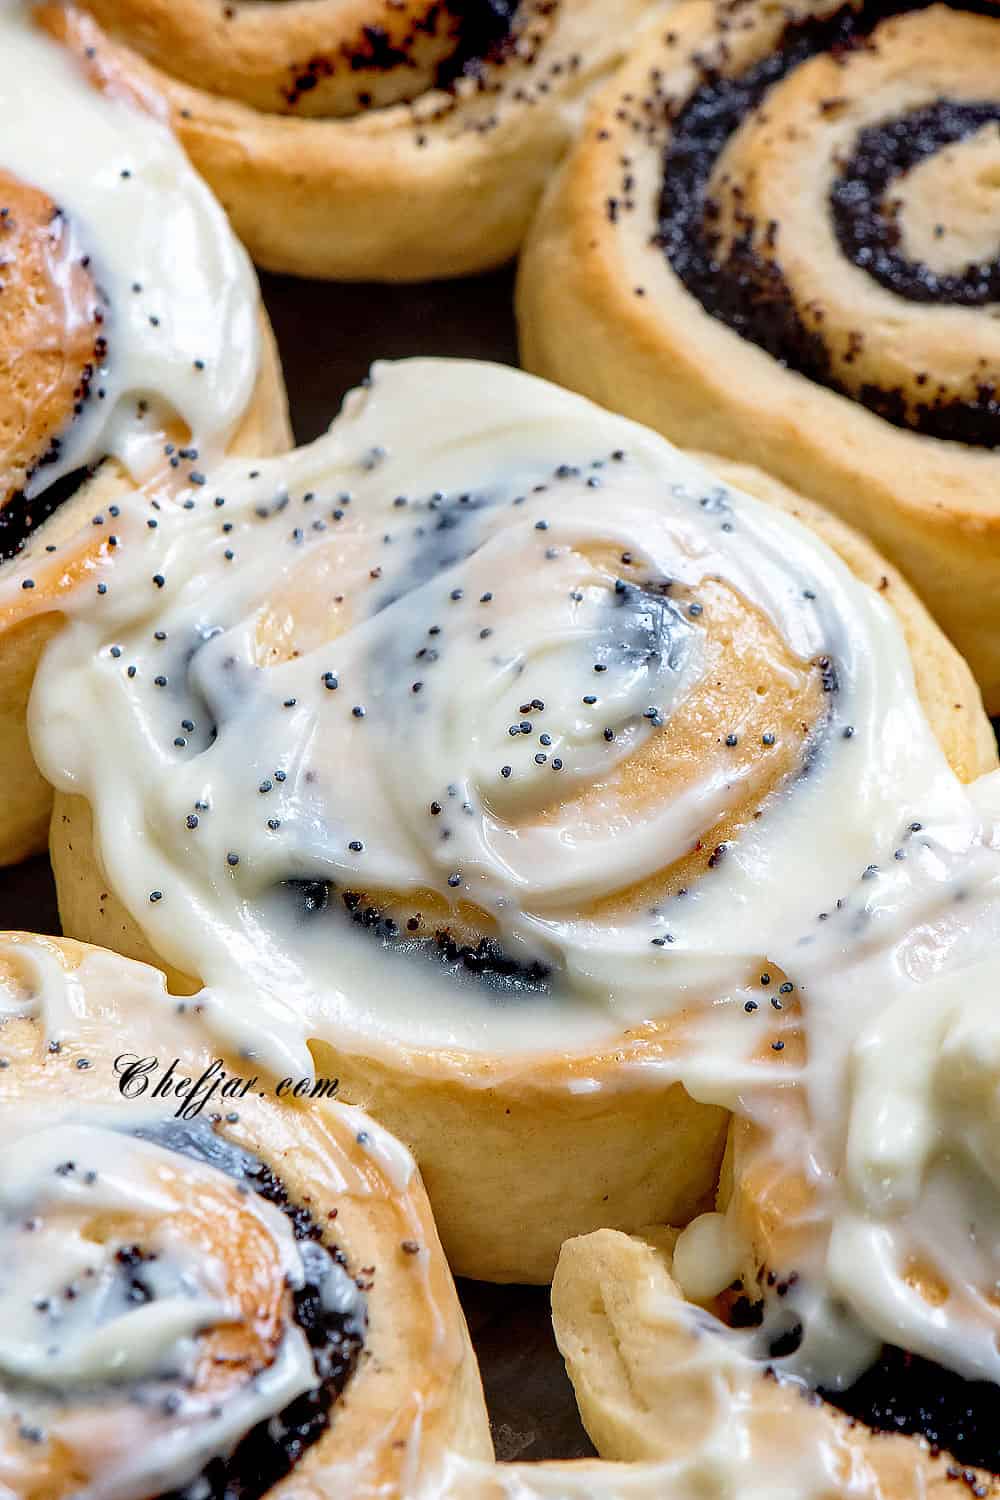
With a sweet, crunchy filling wrapped in deliciously flaky pastry, poppy seed rolls are a popular dessert. Although native to Eastern Europe, and particularly popular in Russia, Ukraine and Poland, they were brought to the Americas by waves of European immigrants. In the US, poppy seed rolls are a widely consumed treat nowadays.
They go great with a steaming hot cup of tea, homemade almond milk or coffee, a great afternoon snack or sweet start to the day.
Best Poppy Seed Rolls (Tips)
Here are some handy tips for making the nicest poppy seed rolls you can.
- Fresh yeast. Old yeast will give you flat, featureless dough. Use fresh yeast to ensure a high quality poppy seed roll.
- Check your milk’s temperature. Milk that is too cold or too hot will prevent your poppy seed rolls from achieving the perfect texture. Using the wrong temperature milk will ensure your sugar dissolves and get the custard-like texture you want for this dish.
- Add flour slowly. Make sure to add the flour in small amounts at a time. This makes mixing easier, and allows closer control over the dough’s texture. You want your dough to be slightly sticky, elastic, and easy to work using your hands.
- Knead the dough. This might seem obvious, but it’s imperative to knead the dough with confidence and strength. Knead your dough for long enough to get the texture you want. This might take ten minutes!
- Space. Make sure to space your rolls out on your baking dish. If they’re too close together they won’t cook properly. Besides, poppy seed rolls massively increase in size (some will double!)
- For a golden finish, lightly brush your rolls with egg before placing them in the oven. This step is optional.
How to Make Poppy Seed Rolls
- In a large bowl combine milk with yeast and allow to stand for 10 minutes.

- Add the yogurt, sugar, salt, egg and melted butter, and mix well.
- Gradually add the flour and mix until the dough forms.
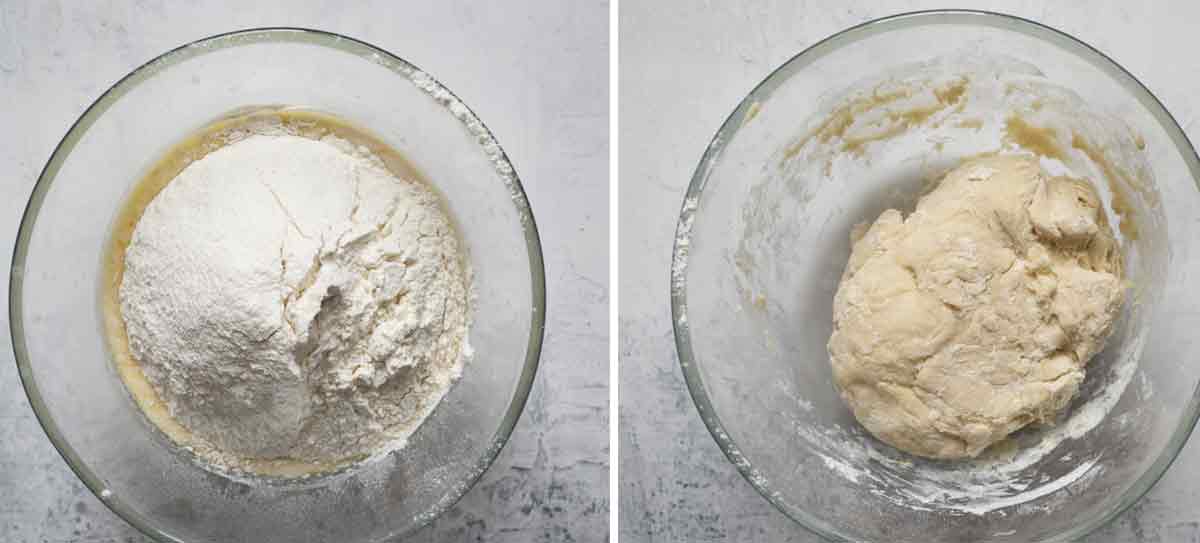
- Transfer on a lightly floured surface and knead for 3-5 minutes or until smooth and not sticky.
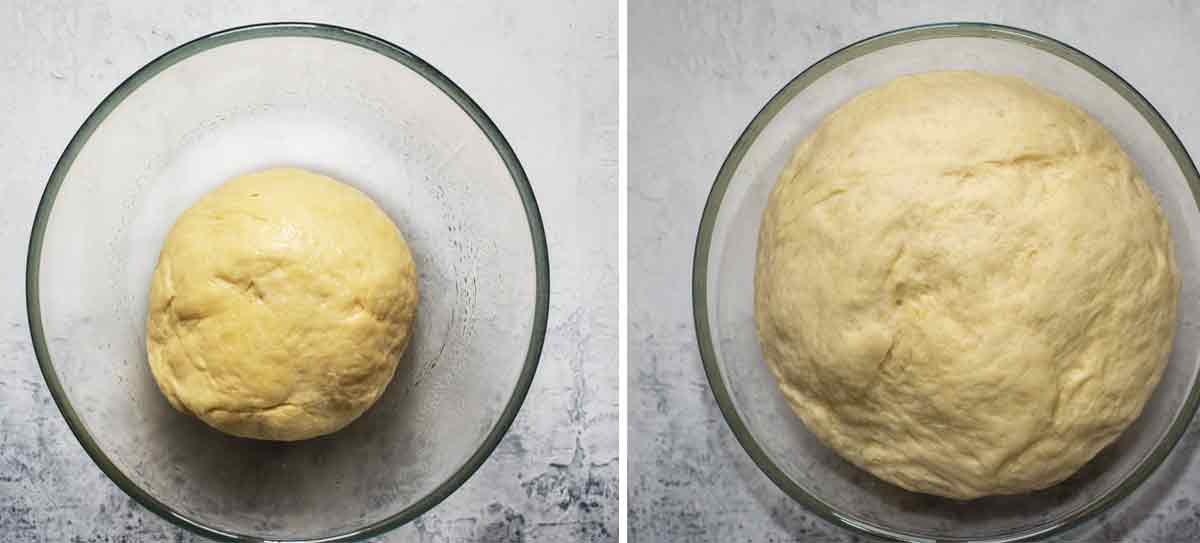
- Place back into the bowl, cover with plastic wrap and keep in a warm place to rise for 1 hour or until doubled in size. To speed up the process, preheat your oven to 140°F |60°C, turn it off and keep in the oven for 30 minutes.
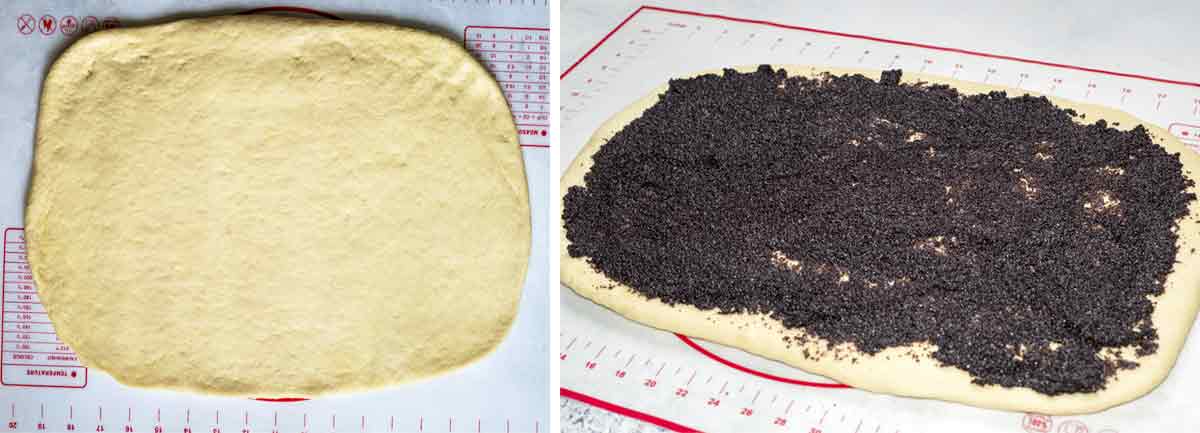
- On a lightly floured surface, roll out the dough to a thin rectangle, using a rolling pin. Spread the poppy seed filling in an even layer.
- Preheat oven to 175°F |350°C with the rack in the center.
- Bake for 25-30 minutes or until lightly golden. Allow to cool down for 10 minutes before glazing them.
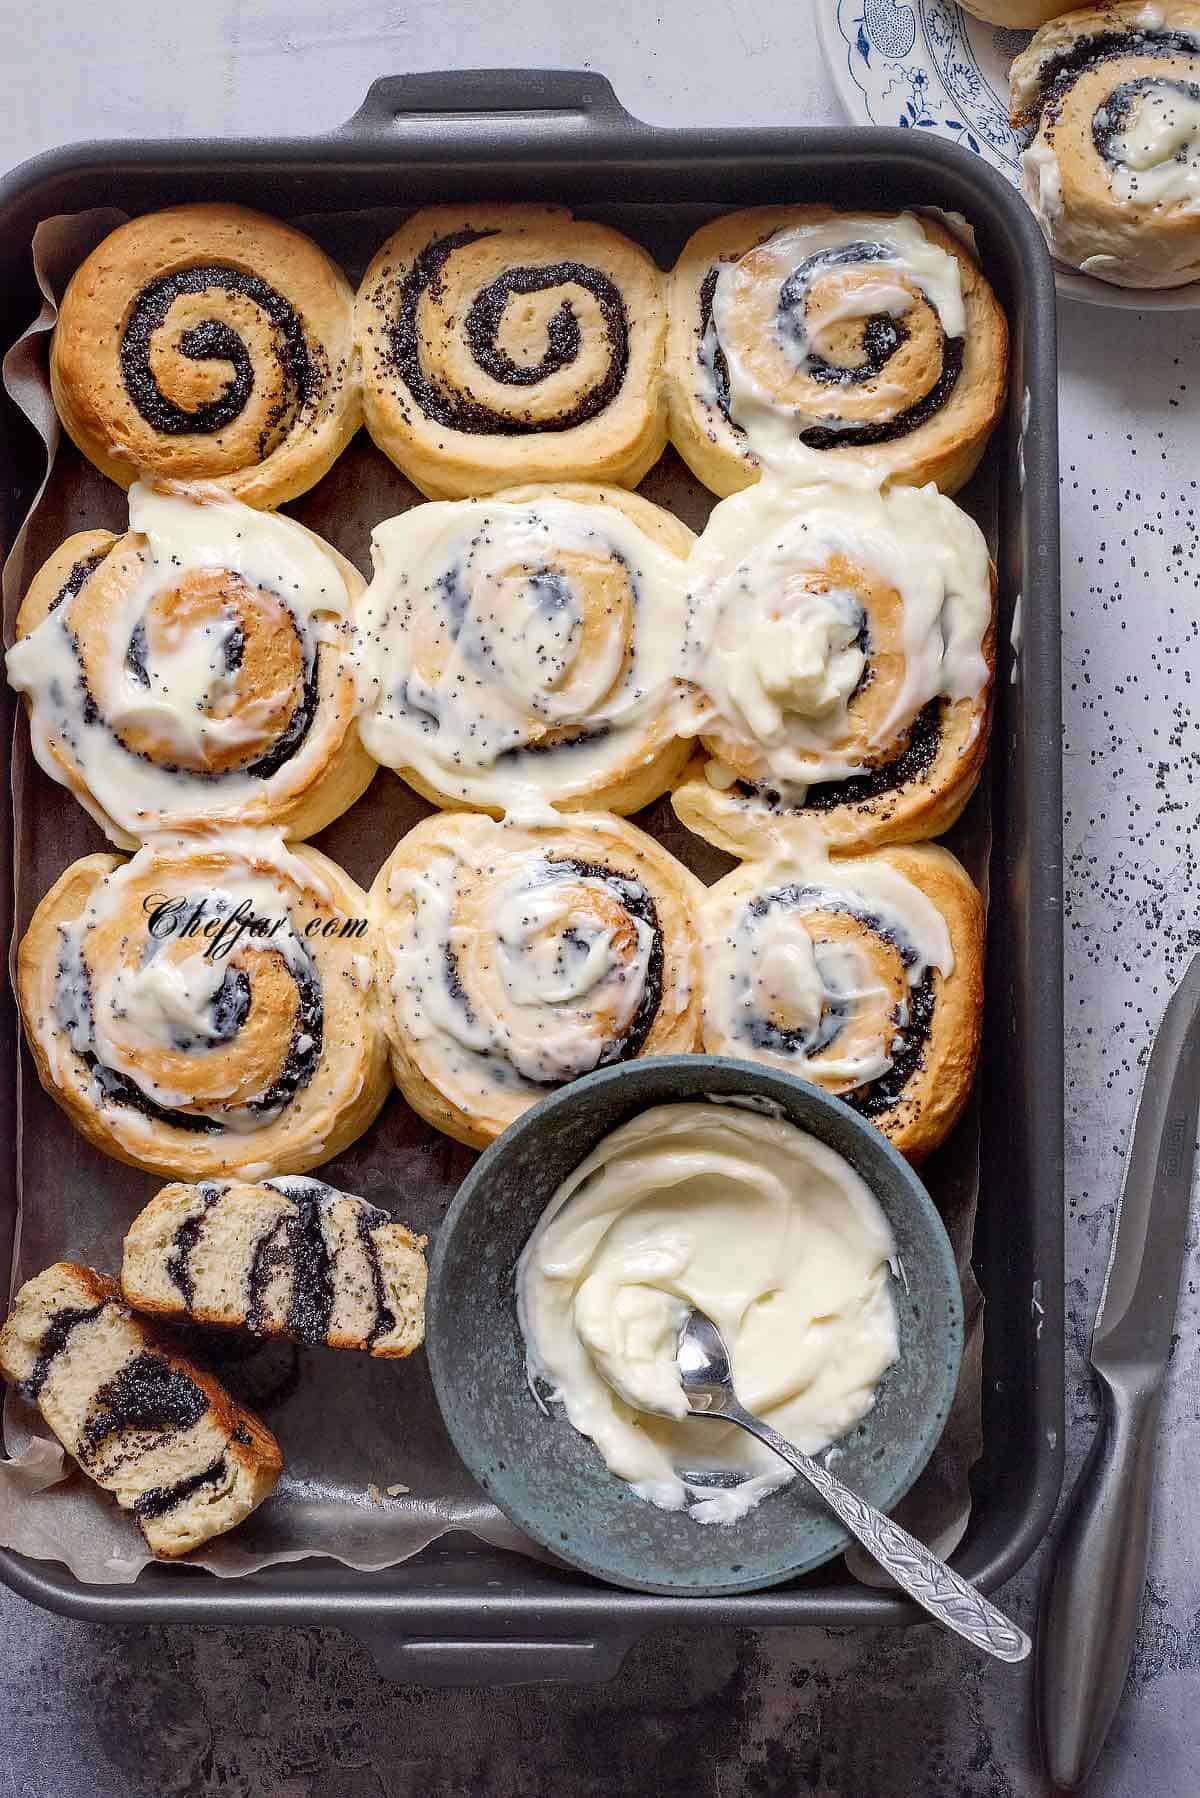
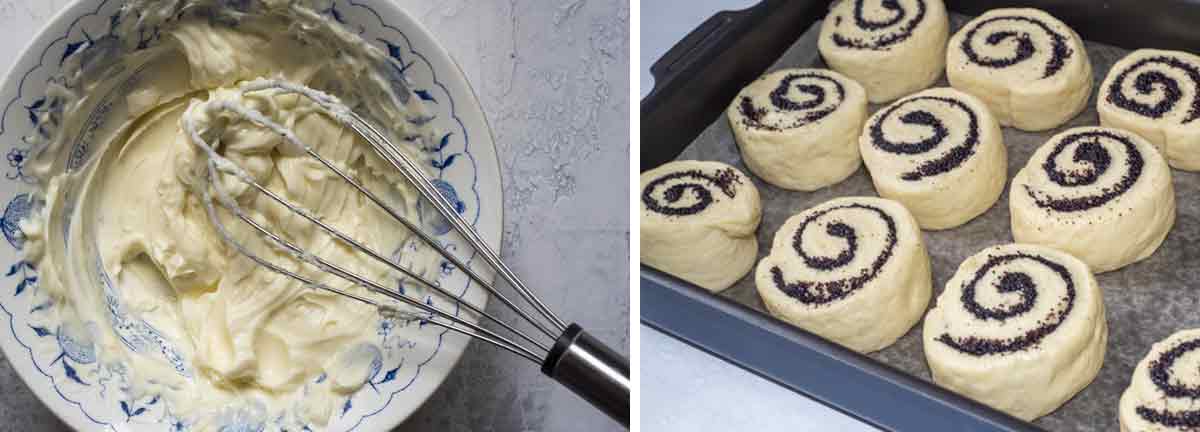
- Meanwhile, make the glaze. In a medium bowl whisk all the ingredients for the glaze until lump free.
- Spread over the rolls.
Poppy Seed Filling
If you can ensure a great poppy seed filling, you’ll be delivering amazing poppy seed rolls every time. Be generous with your filling, and cater the amount to your own personal tastes and preferences.
Poppy seed filling is not unlike custard, but is made with poppy seeds. Like custard, it contains sugar and a little salt. This gives it its sweet, robust flavor.
There are two schools of thought when it comes to poppy seed filling.
You can either make it yourself or buy some pre-made filling. Plenty of Eastern European grocery stores (these are easier to find in some places than others) will have pre-made poppy seed filling available for purchase.
If not, try a poppy seed filling recipe. It’s easier than you think!
Storing Poppy Seed Rolls
- Make sure to let your poppy seed rolls cool down to room temperature before storing.
- Use an airtight container or Ziploc bag to keep them from going stale.
- You can store your poppy seed rolls at room temperature for up to five days.
- Reheat your rolls in the microwave to soften them if they’re starting to harden.
You can also freeze the raw rolls on a baking sheet after forming and before cooking. These can be stored in an airtight container in your freezer. When you want to bake them, thaw them out in your fridge, preferably overnight, so you can then bake them the day after!


If you make this recipe be sure to leave a comment or give this recipe a rating ⭐⭐⭐⭐⭐! I will be happy to hear from you!


Easy Poppy Seed roll Recipe
Ingredients
For the Dough
- Instant rapid-rise yeast- 2 teaspoons
- Lukewarm milk-3/4 cup
- Plain yogurt-1/4 cup
- Sugar-5 tablespoons
- Unsalted butter, melted-1/4 cup
- All-purpose flour-3 1/2 cup
- Large egg, lightly beaten-1
- Salt-1/2 teaspoon
For the Filling
- Store-bought or homemade poppy seed filling-10 oz |300g
For the Glaze
- Cream cheese, softened-4 oz |110 g
- Heavy cream-2 tablespoons
- Confectioners’s sugar-3/4 cup
- Vanilla sugar- 1 teaspoon, optional
Instructions
- In a large bowl combine milk with yeast and allow to stand for 10 minutes.
- Add the yogurt, sugar, salt, egg and melted butter, and mix well.
- Gradually add the flour and mix until the dough forms. Transfer on a lightly floured surface and knead for 3-5 minutes or until smooth and not sticky.
- Place back into the bowl, cover with plastic wrap and keep in a warm place to rise for 1 hour or until doubled in size. To speed up the process, preheat your oven to 140°F |60°C, turn it off and keep in the oven for 30 minutes.
- On a lightly floured surface, roll out the dough to a thin rectangle, using a rolling pin. Spread the poppy seed filling in an even layer.
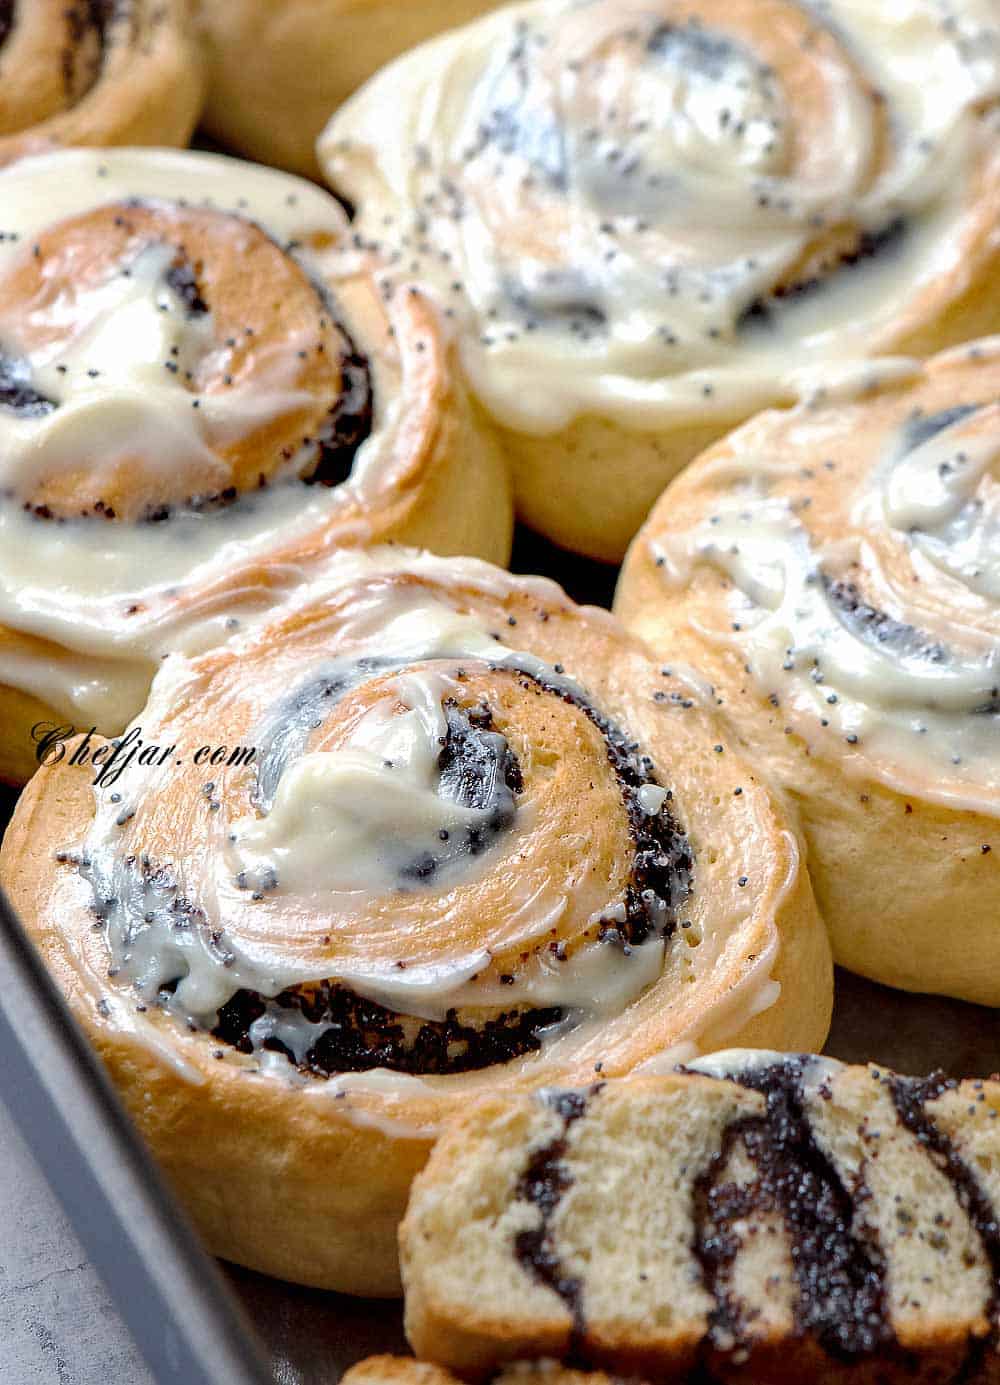
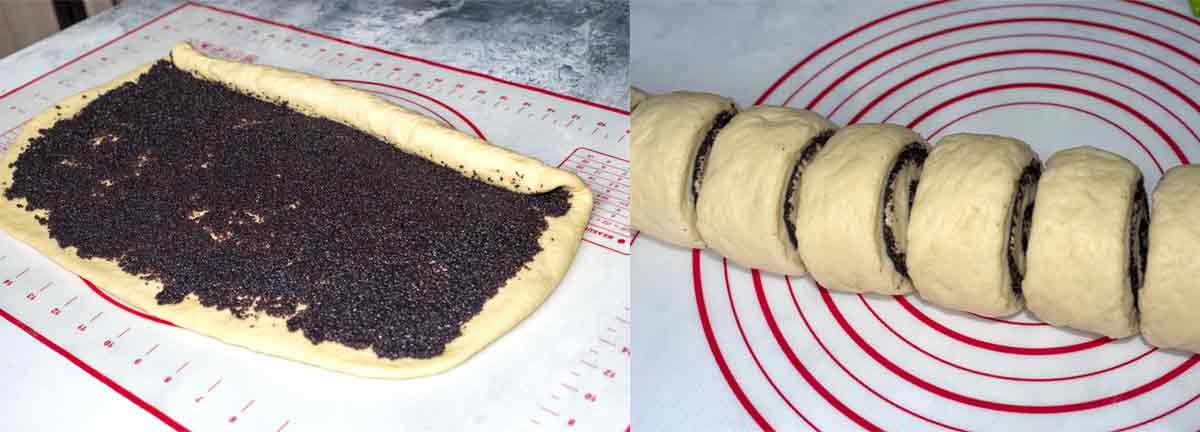
- Starting at the long edge, roll the dough into a long log. Flour your knife and cut into 12 pieces, about 2 inches thick.
- Place the rolls into a greased ( or lined with parchment paper) 9-inch x 13-inch baking dish. Cover with a damp towel and allow to rise until doubled in size, about 30 minutes.
- Preheat oven to 175°F |350°C with the rack in the center.
- Bake for 25-30 minutes or until lightly golden. Allow to cool down for 10 minutes before glazing them.
- Meanwhile, make the glaze. In a medium bowl whisk all the ingredients for the glaze until lump free.
- Spread over the rolls. Enjoy!
Nutrition
Nutrition information is automatically calculated, so should only be used as an approximation.
All rights reserved. CHEF JAR. All images and content are copyright protected. PLEASE do not use my images without my permission. If you want to share this recipe, PLEASE provide a link back to this post.
If you make this recipe, take a photo of your creation and hashtag it # CHEFJAR on Facebook, Instagram, and Twitter!
Dessert Recipes
[ess_grid alias=”desserts”][/ess_grid]