

This post may contain affiliate links. Please read our disclosure policy.
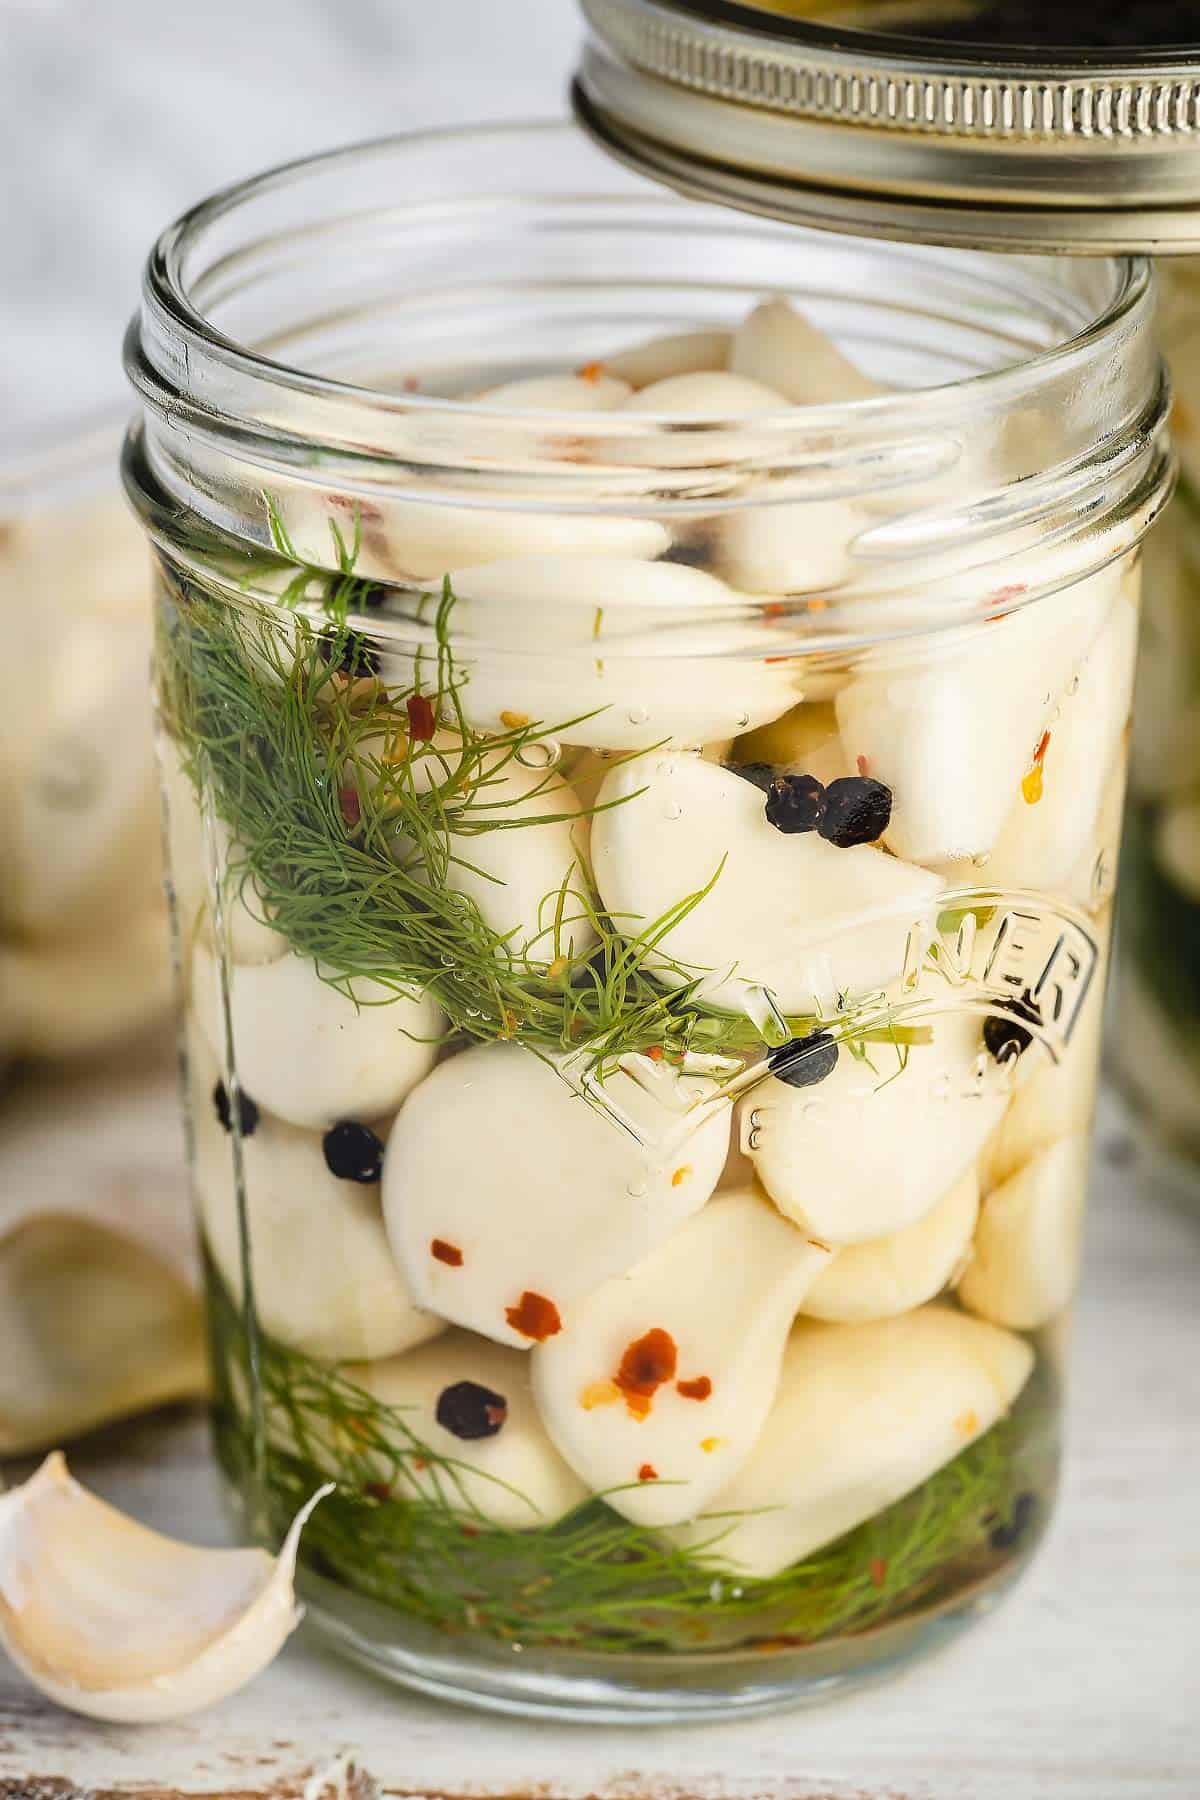
Learn how to make pickled garlic at home with this easy recipe. With just a few basic ingredients and a few minutes of your time, you can whip up this trendy treat with ease!
What is Pickled Garlic?
Pickled garlic is garlic that has been soaked in a mixture of vinegar or brine, along with salt and other spices or flavorings. This process mellows the sharp flavor of garlic, making it sweeter and tangier. Pickled garlic is often used as a snack or as a flavoring in various dishes, and is a popular ingredient in Italian, Spanish, and Korean cuisines. It can be purchased pre-made or made at home with this simple recipe.
What to Know About Pickled Garlic
This recipe is for American-style pickled garlic, and here are some things to keep in mind:
- You can make this pickled garlic without any special canning equipment. Since you’ll be storing the jars in the refrigerator, there’s no need to worry about the long-term preservation of the garlic.
- It is not shelf-stable, meaning you shouldn’t store it at room temperature. Instead, keep the jars in the fridge and enjoy it within 4 months.
- We don’t recommend canning garlic because it’s a low-acid vegetable that needs to be processed in a pressure canner. Unfortunately, heating garlic this way causes it to lose much of its flavor.
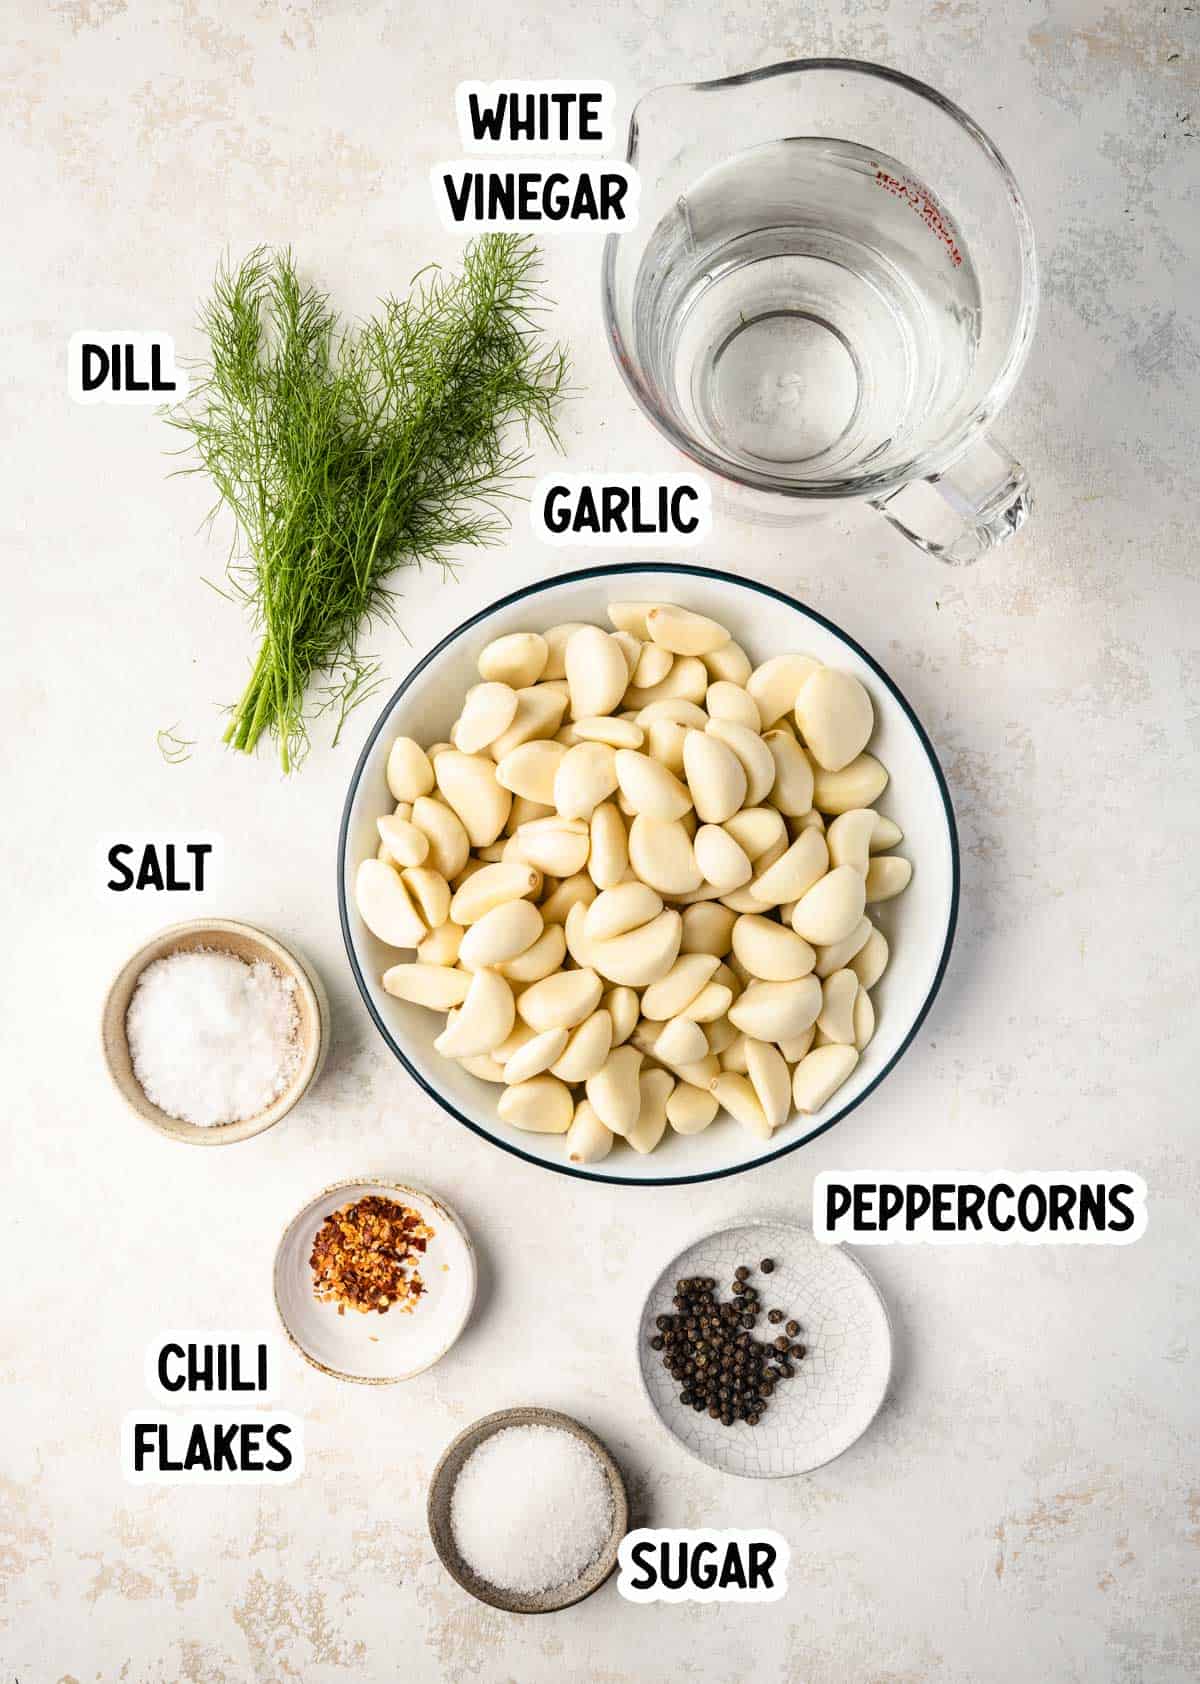
Ingredient Notes
- Canning salt is recommended as it does not contain any anti-caking agents or iodine that can discolor the garlic or liquid.
- White vinegar has a high acidity level, which is important for safe preservation.
- Sugar helps to balance out the acidity and adds a touch of sweetness.
- Fresh garlic is preferred for this recipe as it has a better texture and flavor compared to pre-peeled garlic.
- Crushed red pepper flakes add a subtle heat to the pickled garlic. Adjust the amount to your preference.
- Black peppercorns add a slightly spicy and earthy flavor.
- Fresh dill adds a herbaceous and slightly sweet flavor. You can use other herbs like thyme, rosemary or oregano as well.
How to Pickle Garlic
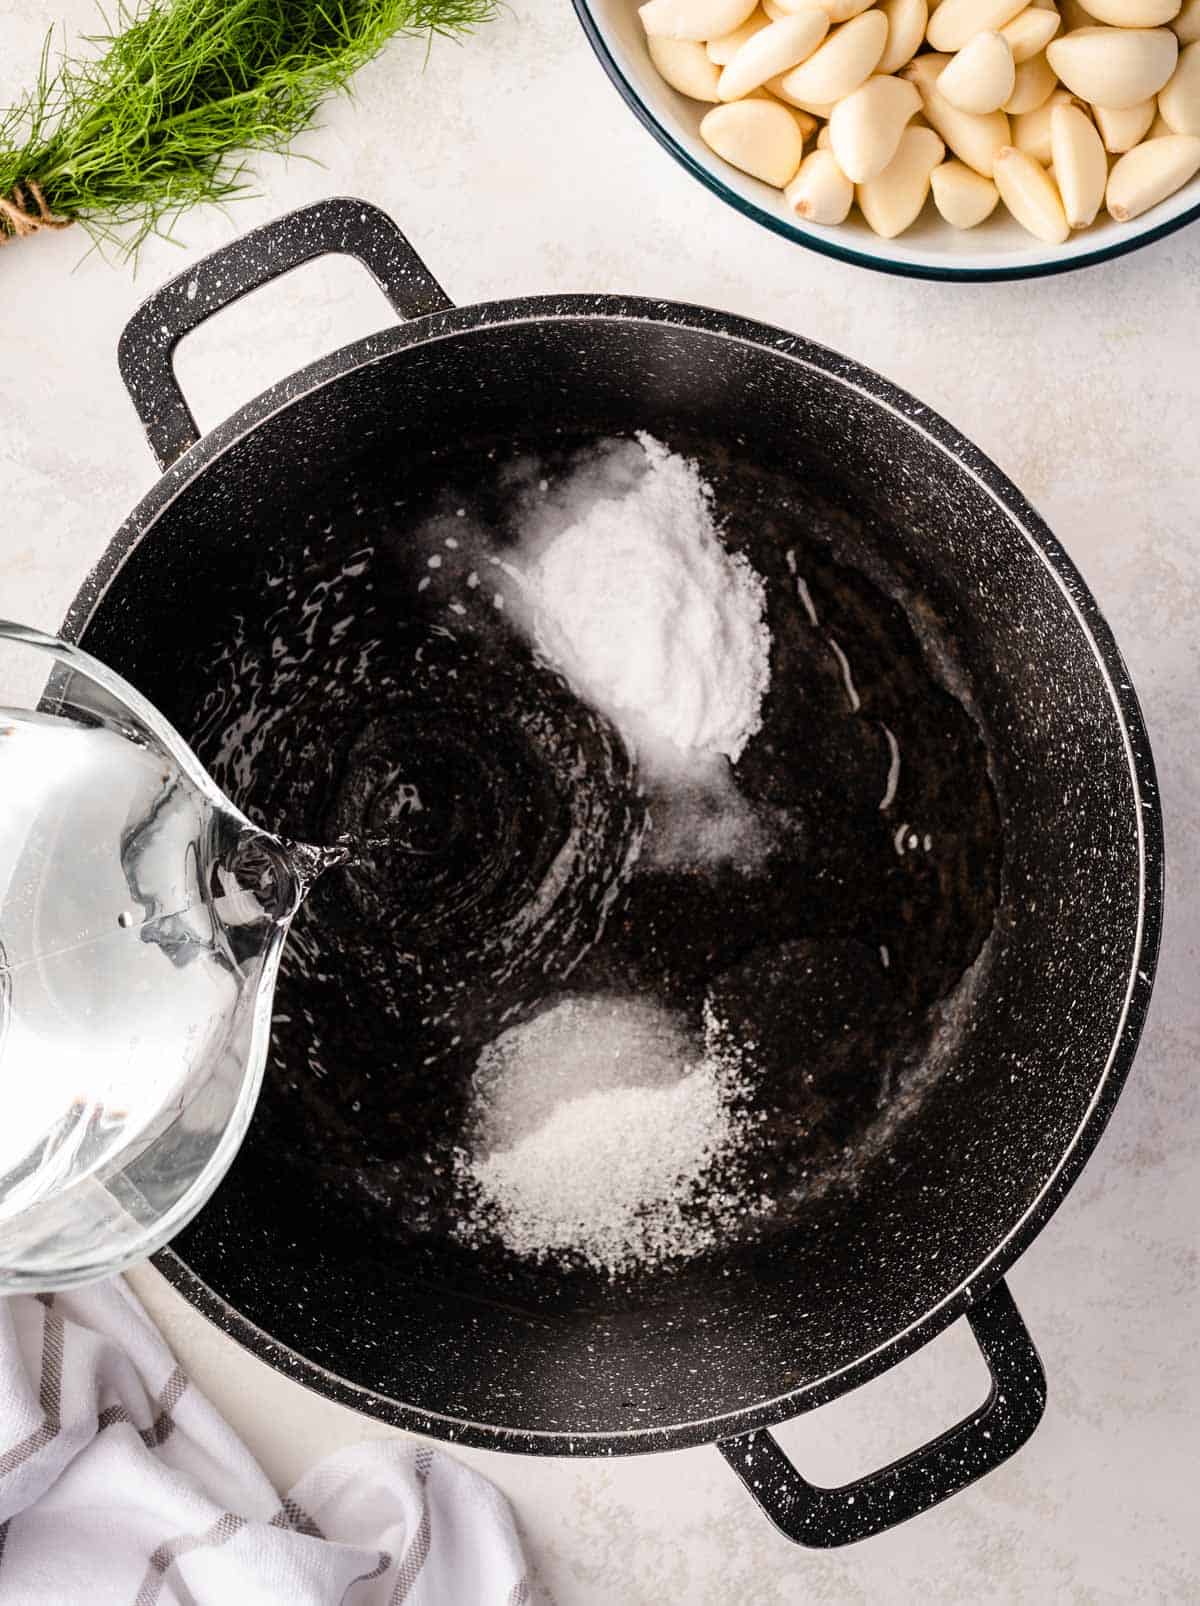
- Mix canning salt, sugar and white vinegar in a big pot and heat it until boiling. Let it simmer for 5 minutes.
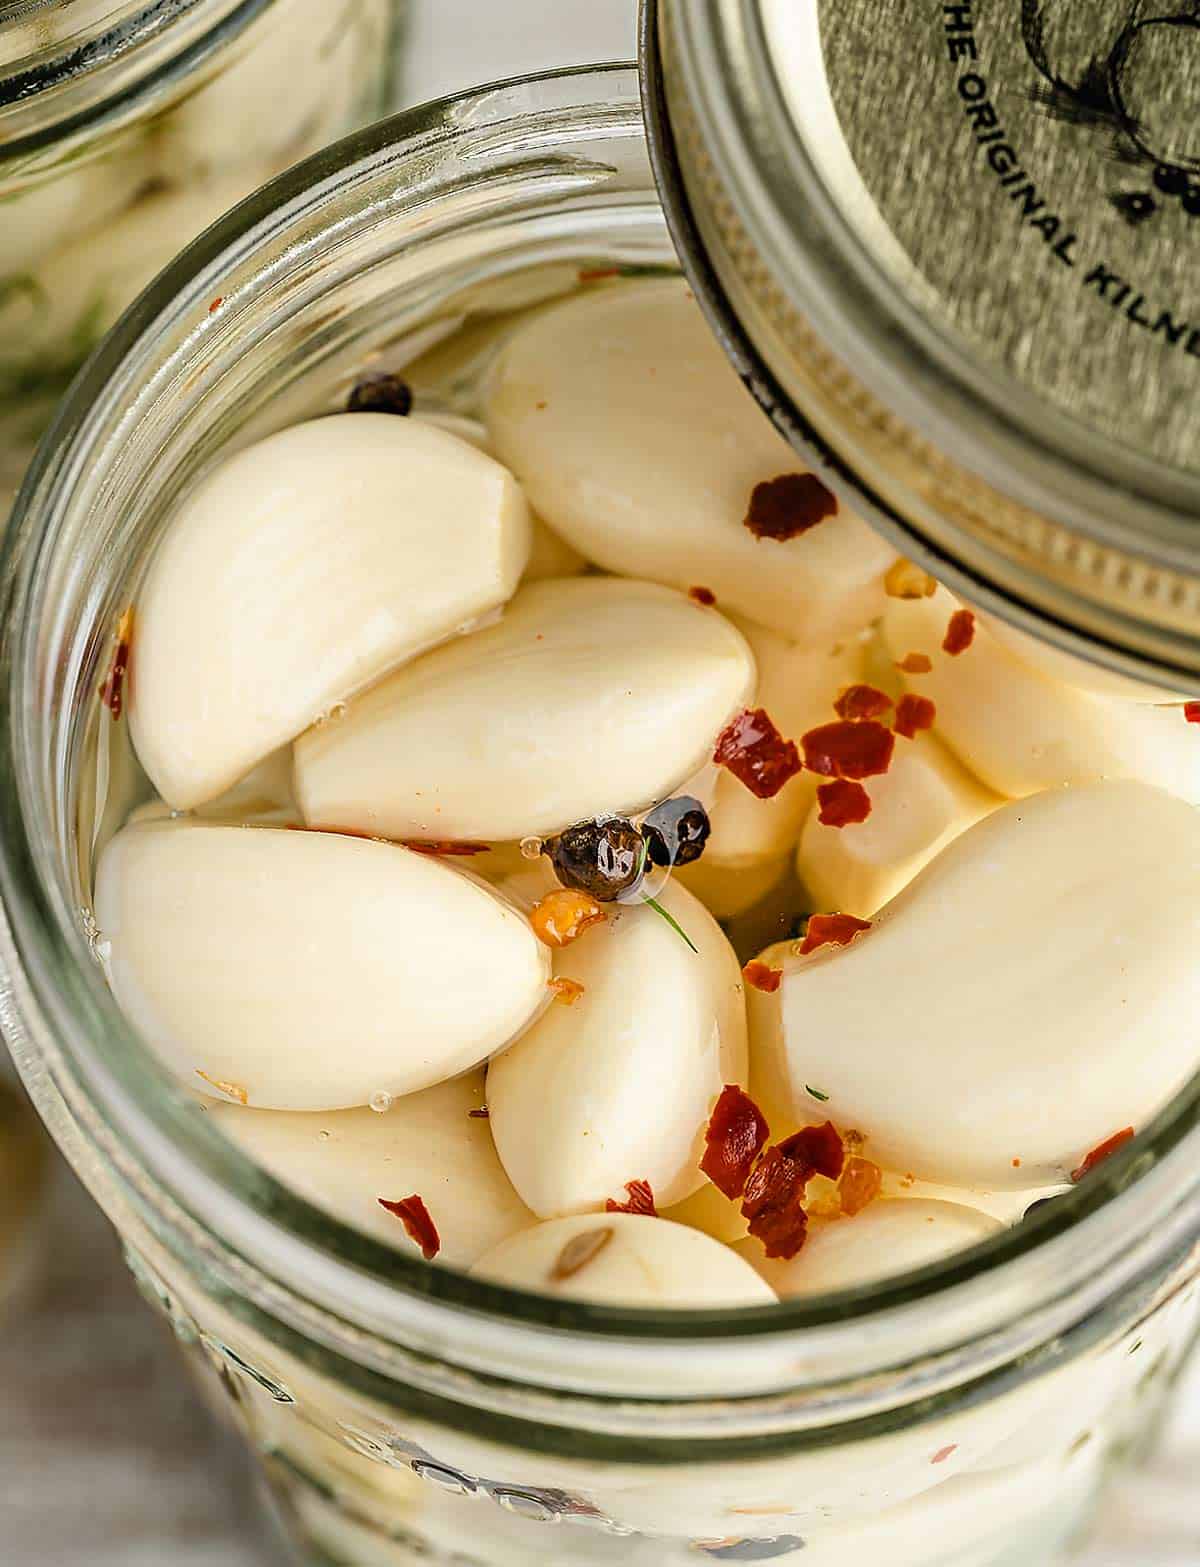
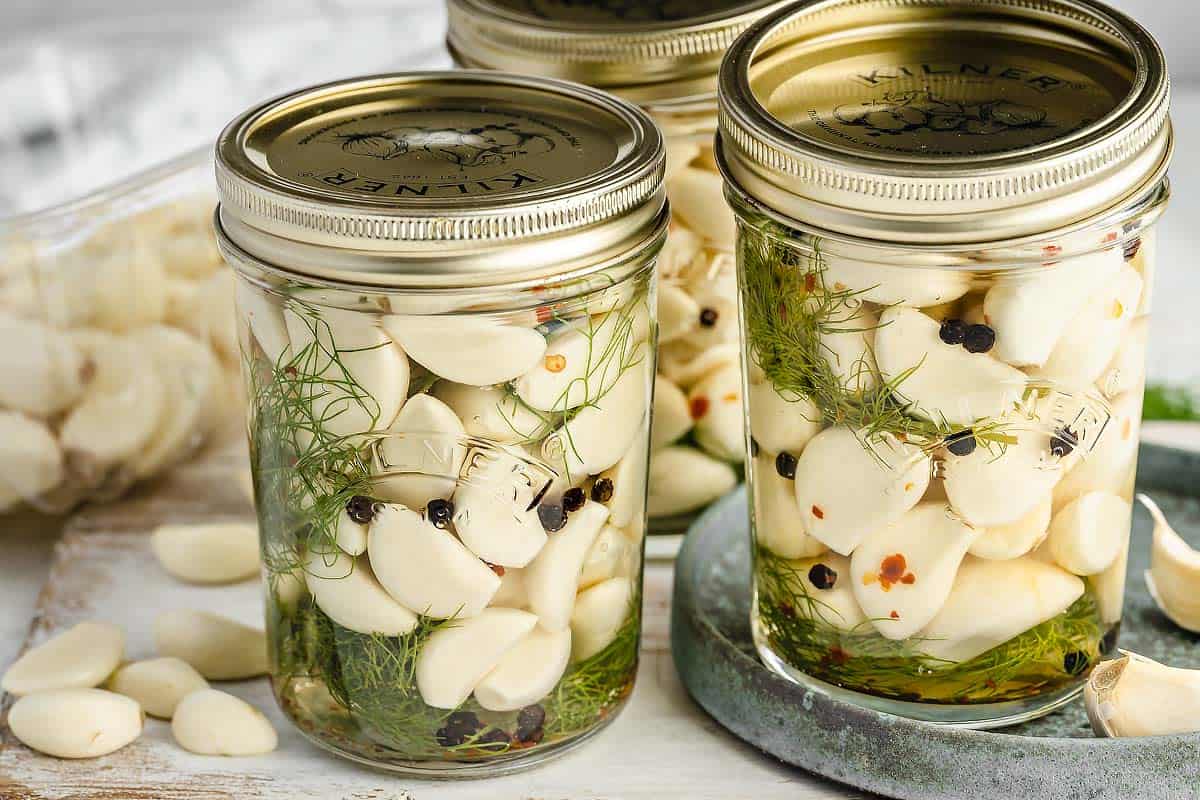
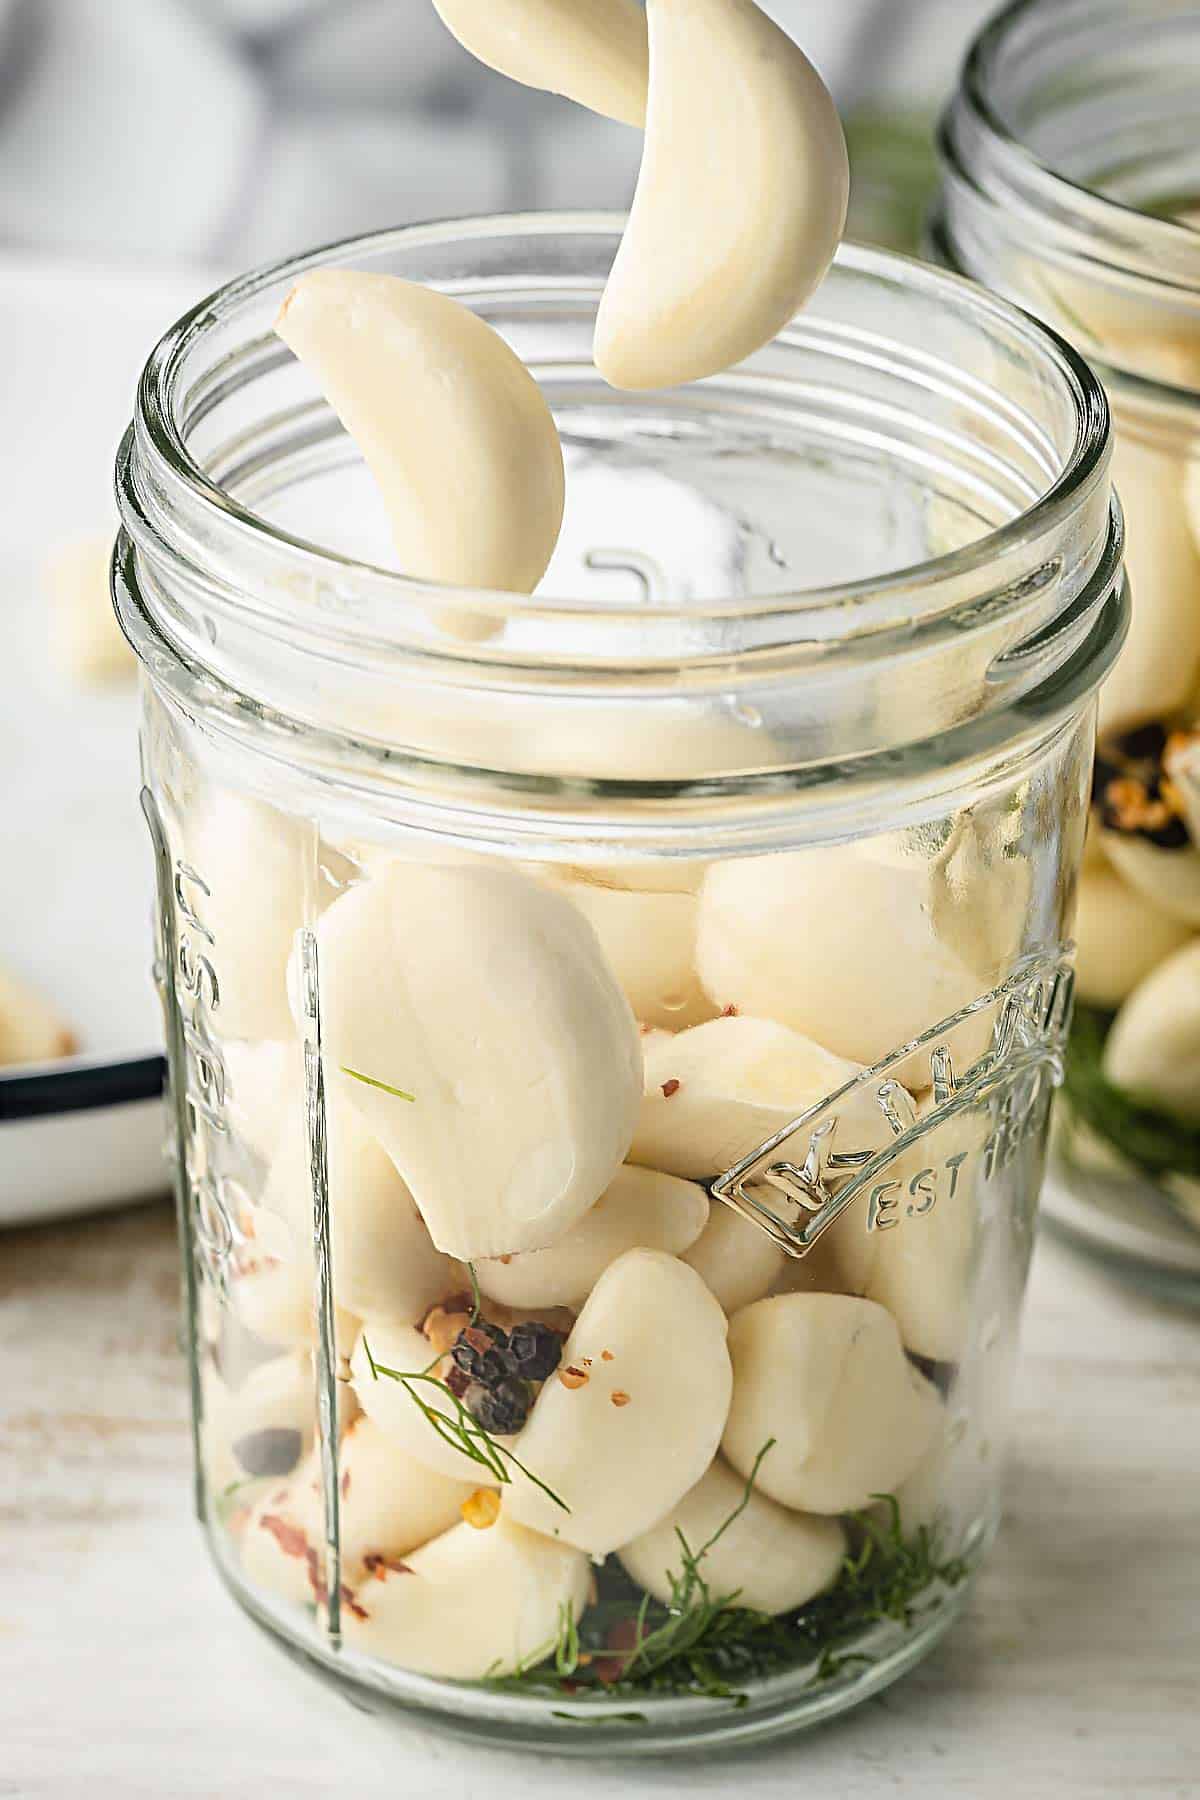
- Pack peeled garlic into 3 (0.35 Litre) clean jars. Leave a space of 1/2-inch from the top of each jar. Add about ¼ teaspoon red pepper flakes, 5-7 peppercorns and some chopped dill to each jar.
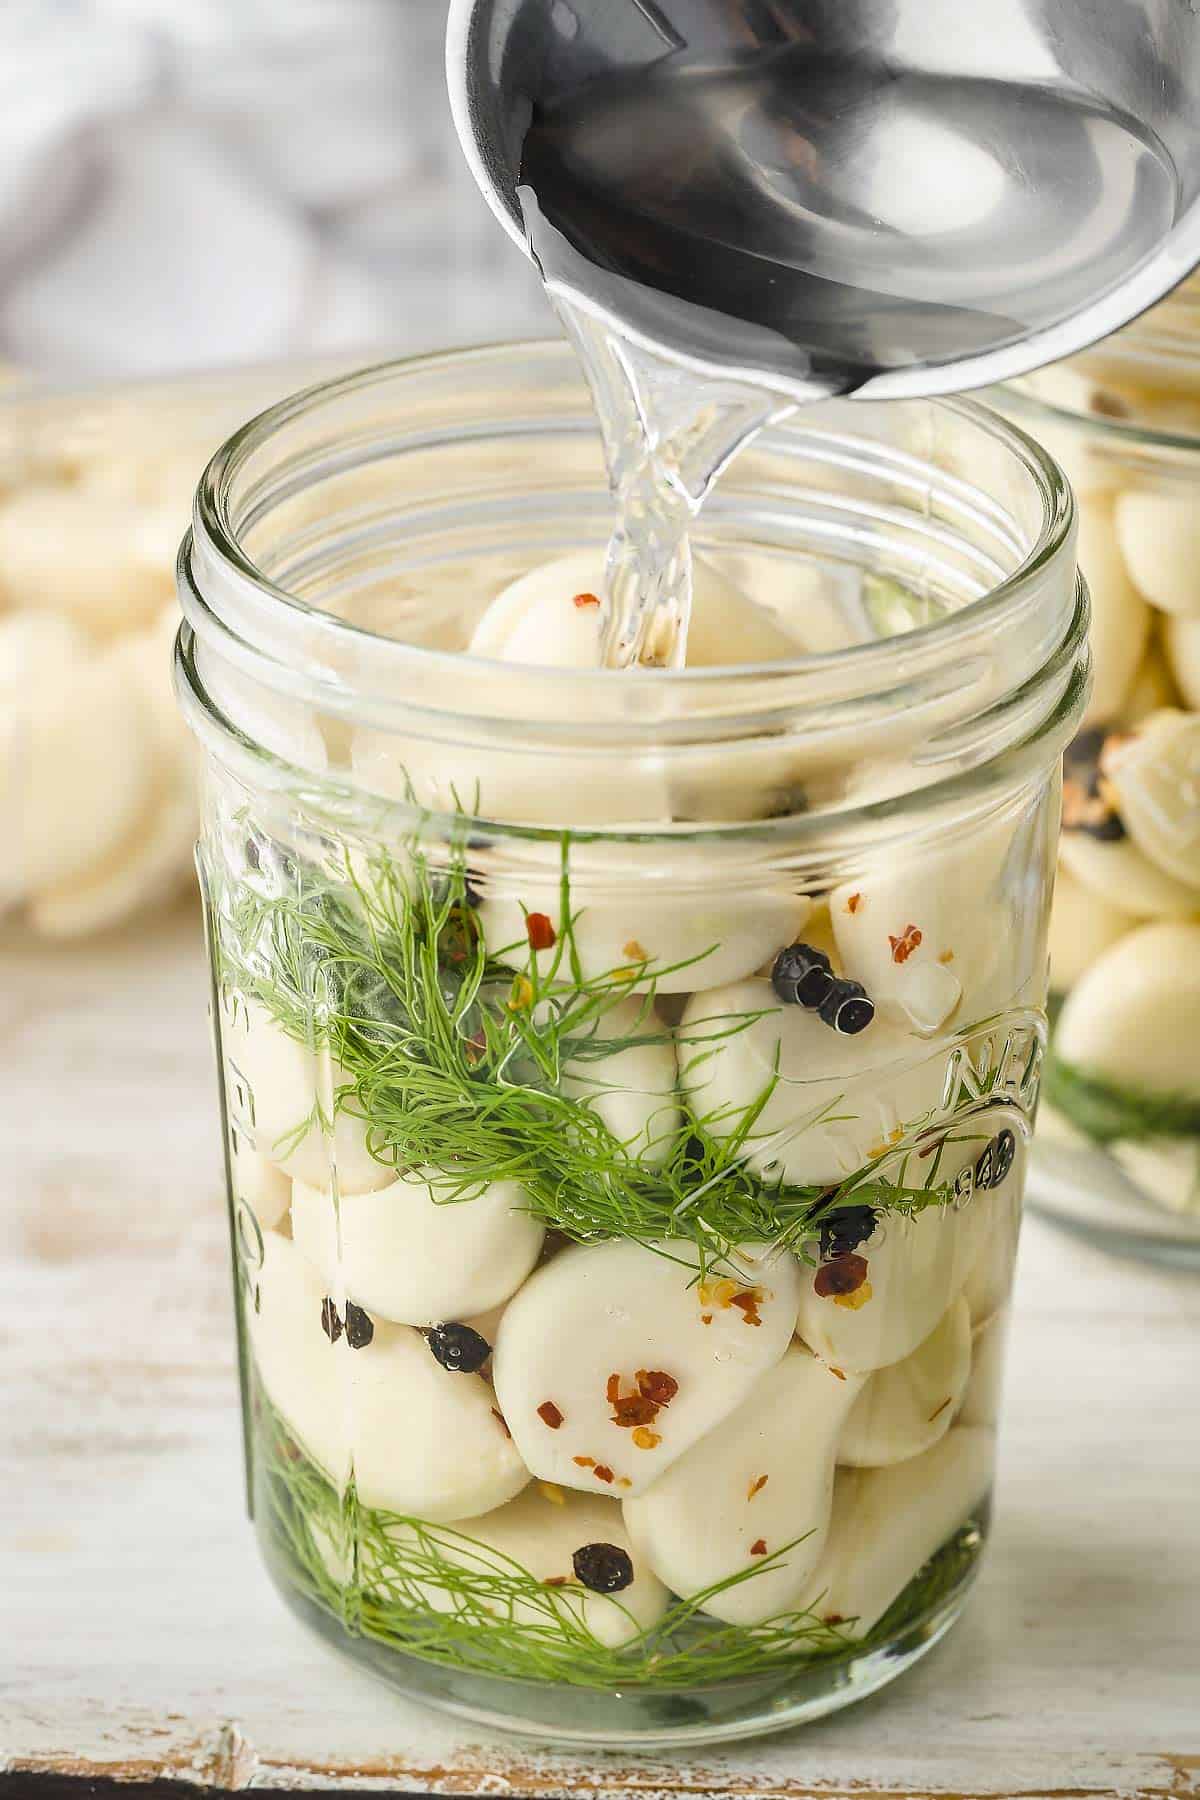
- Using a ladle, pour the hot pickling liquid into each jar, making sure to leave 1/2-inch of space at the top. Remove any air bubbles, clean the rims of the jars, center the lids on top of each jar, and tighten the bands until they are just fingertip-tight.
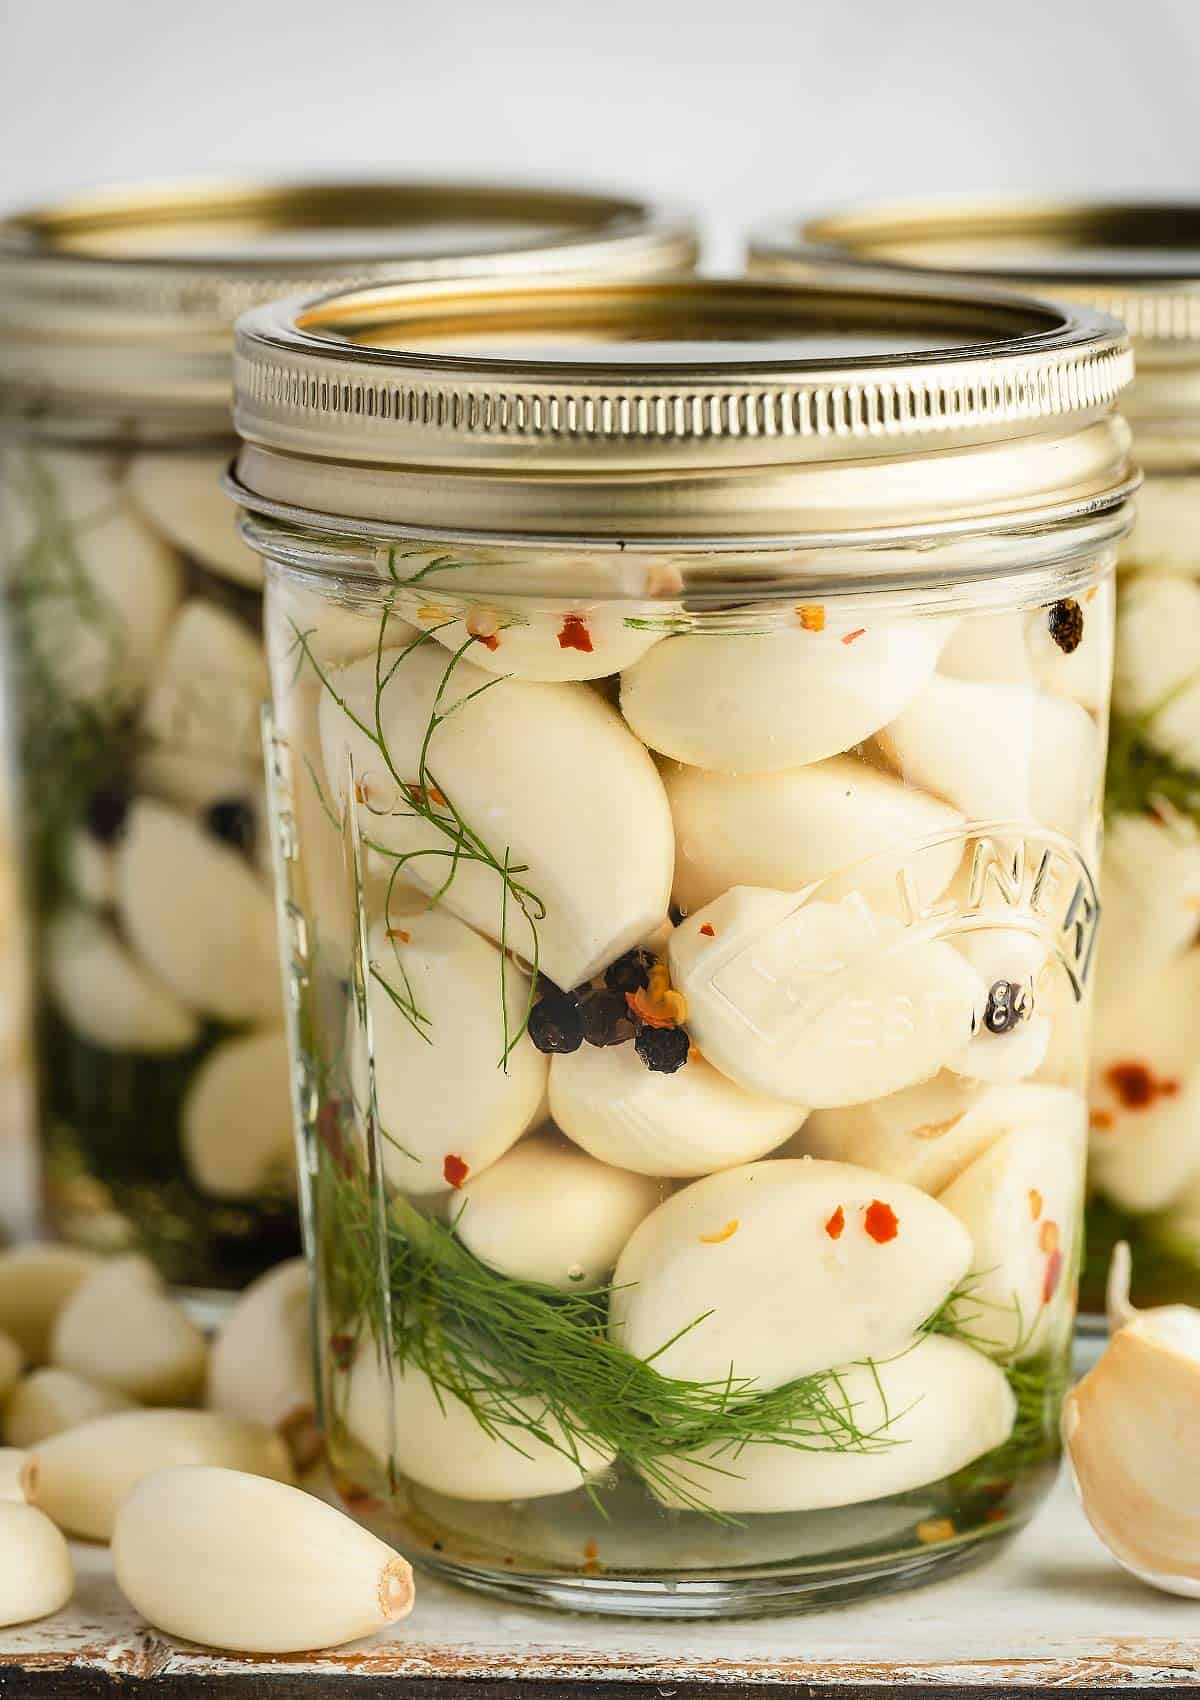
- Place the jars in the refrigerator until the pickling process is complete (We recommend a minimum of 3 weeks). You can store the pickled garlic in the refrigerator for up to 4 months (refer to the notes) or seal the jars as instructed below (please note that the pickled garlic should still be refrigerated and will not be stable at room temperature).
Recipe Notes
- Yield: This recipe makes 2 pints or 4 cups of pickled garlic, which is enough for 16 servings.
- Storage: According to the National Center for Home Food Preservation, you can store the garlic and vinegar mixture in the refrigerator for up to 4 months. You can even use the flavored liquid for other recipes, but make sure to discard it if you see any mold or yeast growth.
- Blue garlic: It’s normal for garlic pickles to turn blue or turquoise, and it’s still safe to eat. To prevent the bluish color, use kosher salt or sea salt instead of iodized salt, and avoid using copper, aluminum, cast iron, or tin cookware and utensils. Also, reduce chlorophyll production by keeping the garlic out of sunlight and use distilled water instead of tap water to avoid trace minerals. If you’re curious, you can read more about the science behind garlic and its color changes.
Pickled Garlic Recipe Variations
- Spicy Garlic Pickles: Add more red pepper flakes or sliced jalapenos to make the garlic spicier.
- Sweet Pickled Garlic: Increase the amount of sugar or use honey instead for a sweeter flavor.
- Herb Garlic Pickles: Use different herbs such as thyme, rosemary or oregano instead of dill to add a different flavor profile.
- Asian-style Pickled Garlic: Use rice vinegar, soy sauce, and ginger to give the pickled garlic an Asian twist.
- Smoky Garlic Pickles: Add a touch of liquid smoke or smoked paprika to give the garlic a smoky flavor.
Ways to Use Pickled Garlic
- Add it to cheese and charcuterie boards
- Make the famous TikTok spicy pickled garlic
- Mince or slice it for vegetable sautés
- Add to pasta sauces
- Sauté and add to rice, farro or quinoa
- Use in soups and stews as a substitute for plain garlic.

Frequently Asked Questions
Yes, you can use apple cider vinegar or rice vinegar, but it may affect the flavor of the pickled garlic.
Yes, you can reuse the pickling liquid to make another batch of pickled garlic, but the flavor may be weaker.
You can use pre-peeled garlic to save time, but be sure to adjust the amount of garlic to match the weight specified in the recipe.
No, you must refrigerate it at all times and will not be shelf-stable.
No, we do not recommend canning garlic because garlic is a low-acid vegetable. Canning garlic requires a pressure canner to be properly processed, which can affect the flavor of the garlic.
Love Garlic? Try These!!!
If you make this recipe be sure to leave a comment or give this recipe a rating ⭐⭐⭐⭐⭐! We will be happy to hear from you!
Pin this now to find it later
Pin It

Pickled Garlic
Ingredients
- 2 tablespoons canning salt
- 2 1/2 cups white vinegar
- 1 tablespoon sugar
- 1 pound fresh garlic, peeled
- 3/4 teaspoon crushed red pepper flakes
- 1/2 tablespoon black peppercorns
- 4-5 sprigs fresh dill, stems and leaves coarsely chopped
Instructions
- Mix the canning salt, sugar and vinegar in a big pot and bring it to a boil. Let it simmer for 5 minutes on low heat.
- Next, put some garlic into 3 sterilized jars and add a little bit of red pepper flakes, peppercorns and dill to each jar.
- Using a ladle, pour the hot pickling liquid into the jars, but make sure to leave some space at the top. Remove any air bubbles, clean the jar lids and screw them on tight.
- Put the jars in the fridge and let the garlic pickle for at least 3 weeks. Keep in the fridge for up to 4 months, or you can seal the jars following some instructions, but remember that the pickled garlic still needs to be refrigerated.
Sealing The Jars (MUST BE REFRIGERATED)
- Boil the jars in water for 10 minutes. Make sure the jars are covered by at least 1 inch of water. After 10 minutes, turn off the heat and remove the cover. Let the jars cool for 5 minutes and then cool them for 12 hours.
- After 12 hours, check the seals on the jars. Once the jars are properly sealed, you can put them in the fridge to pickle for at least 3 weeks. Keep the jars in the fridge for up to 4 months.
Notes
- Yield: This recipe makes 2 pints (4 cups), which is enough for 16 servings.
- Storage: Store the garlic and vinegar mixture in the fridge for up to 4 months. The flavored liquid can be used for other things too, but make sure to discard it if you see any signs of mold or yeast growth.
- Blue garlic: Sometimes pickled garlic may turn blue or turquoise, but don’t worry – it’s still safe to eat. To prevent this from happening, you can use kosher or sea salt instead of iodine salt. Also, use stainless steel or enamel cookware and utensils instead of copper, aluminum, cast iron, or tin ones. Keep the jars away from sunlight to reduce chlorophyll production, and use distilled water instead of tap water to avoid trace minerals.
Nutrition
Nutrition information is automatically calculated, so should only be used as an approximation.
All rights reserved. CHEF JAR. All images and content are copyright protected. PLEASE do not use my images without my permission. If you want to share this recipe, PLEASE provide a link back to this post.


Wow! This pickled garlic was so good—I’ve been adding it to everything! The flavor is just right, not too overpowering.
Mark, that’s awesome! Pickled garlic is such a great addition to so many dishes. Enjoy!